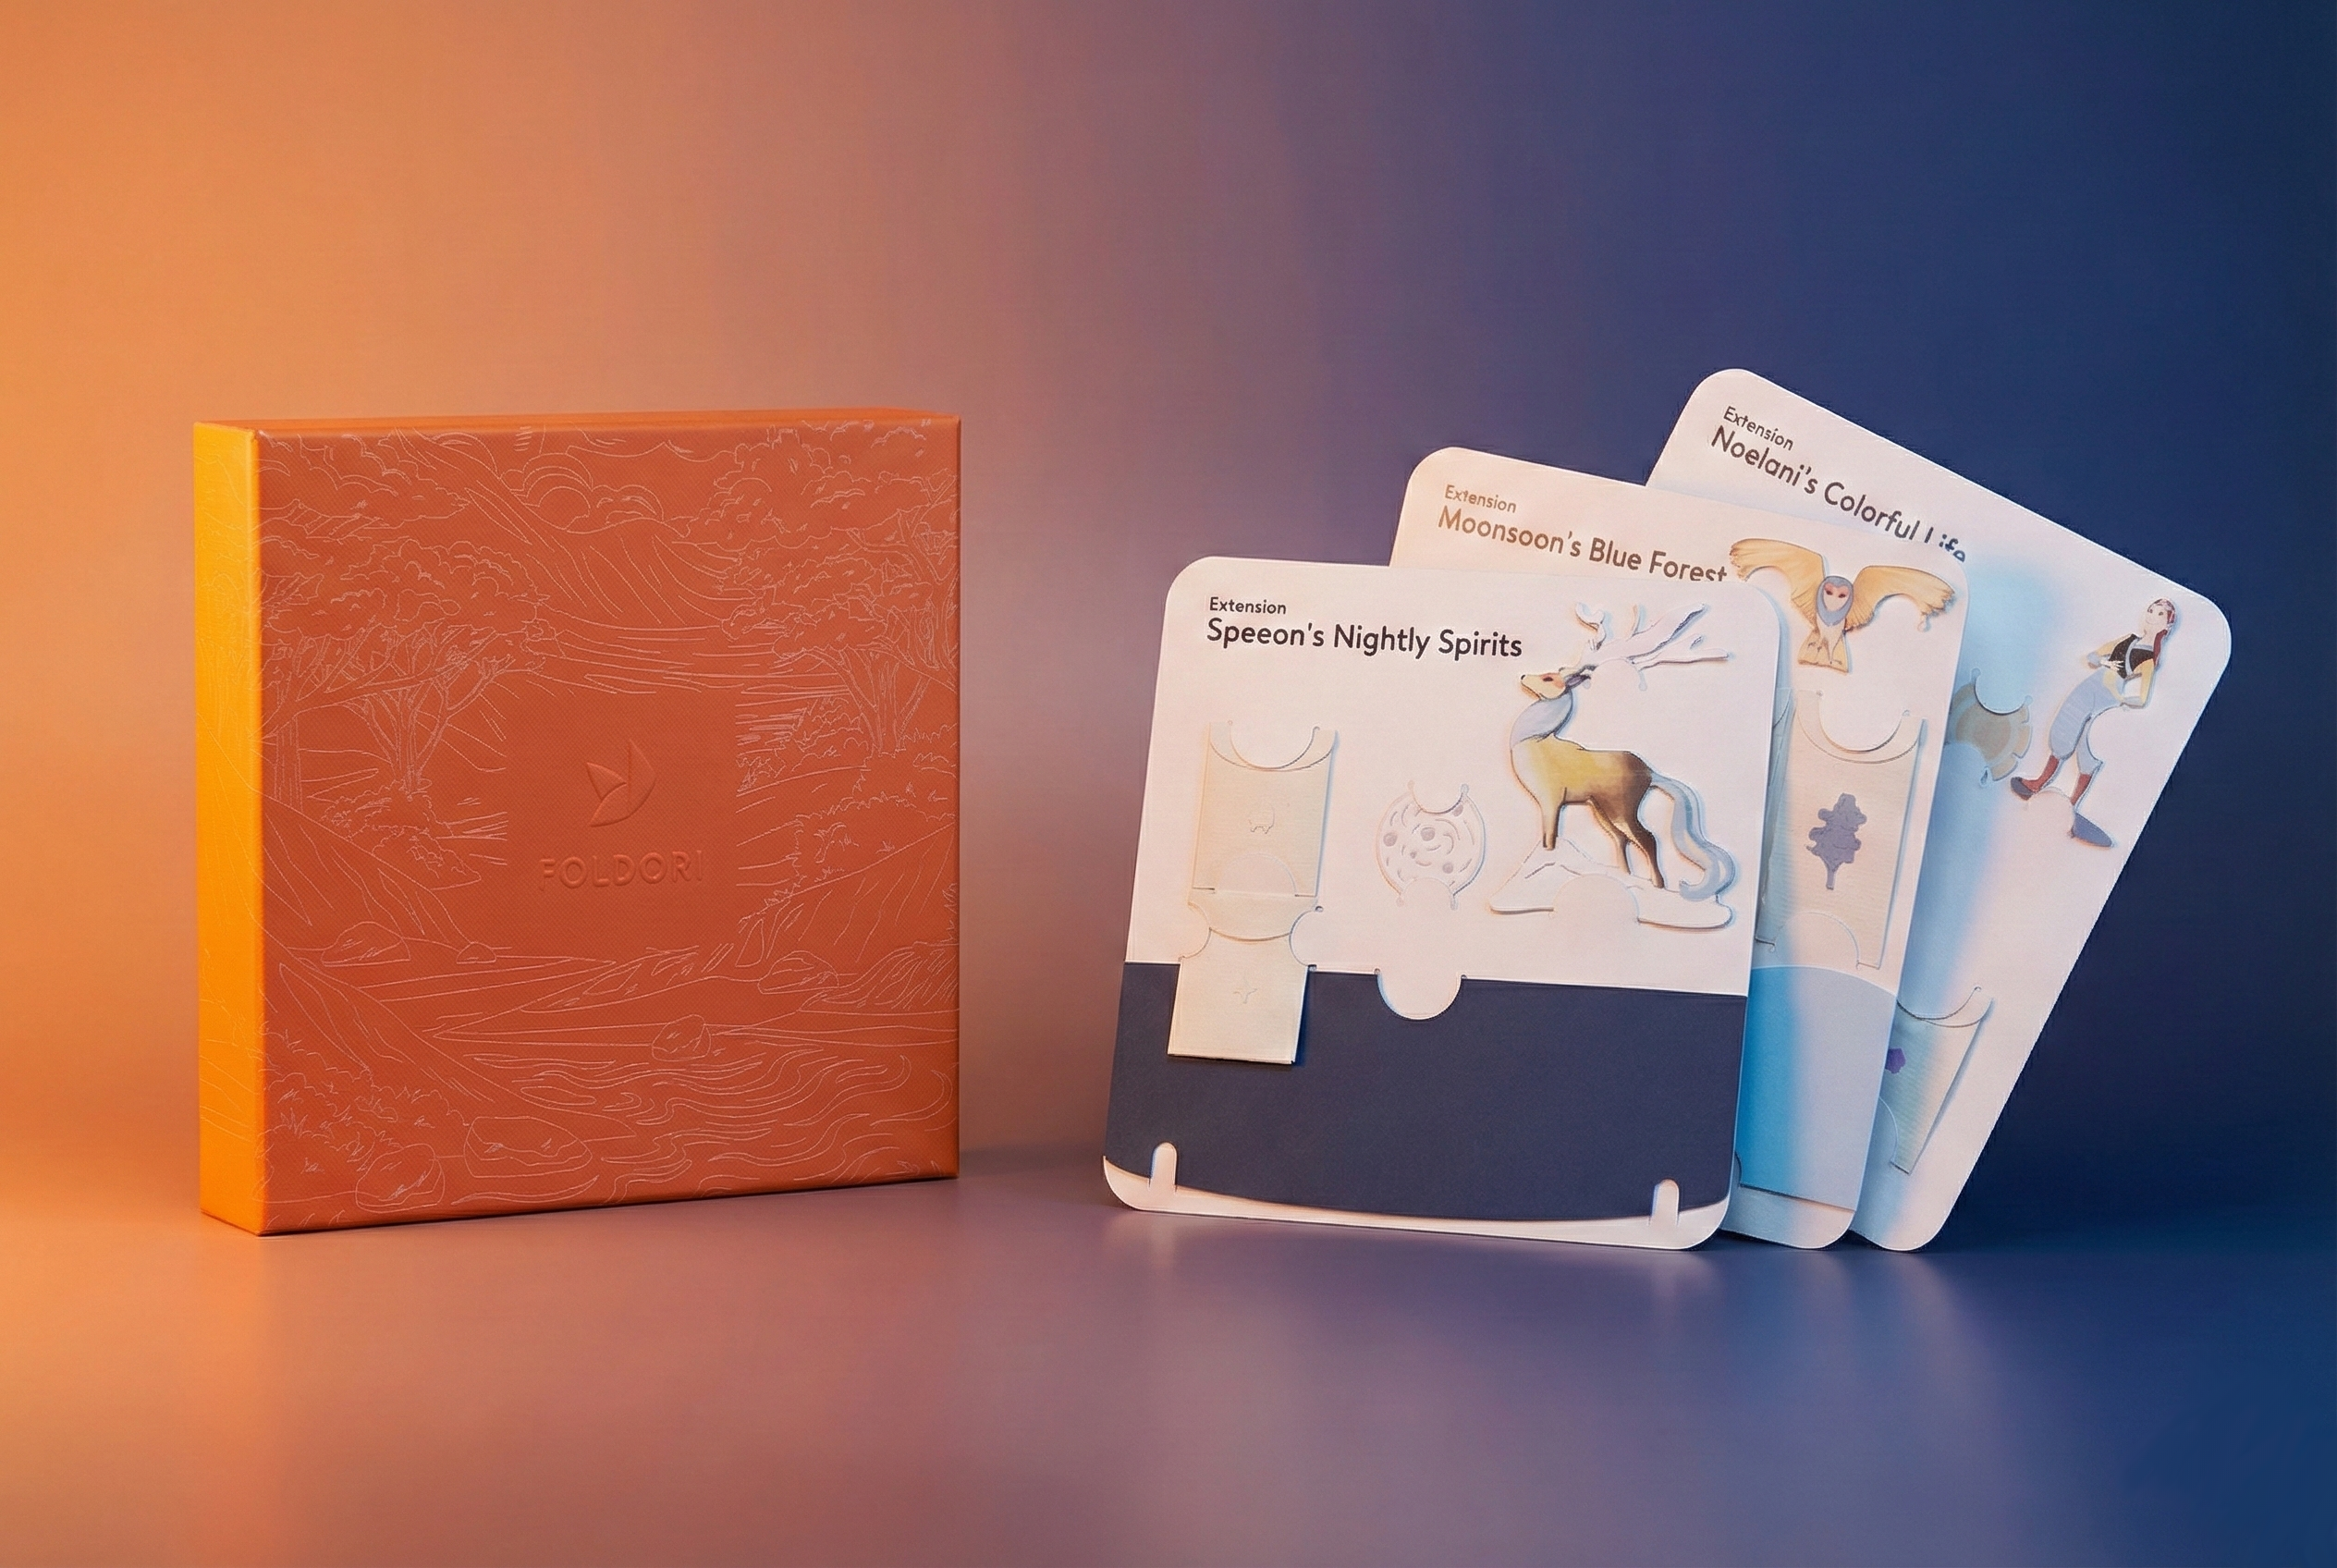

Paper engineering builds three-dimensional objects from flat sheets through calculated folds, cuts, and structural tension. It differs from origami in one way: the paper gets cut. That single change opens a world where precision tools, grammage choices, and score angles determine whether a piece holds or collapses.
What paper engineering actually is
Paper engineering is the practice of designing flat paper into objects that hold their shape in three dimensions. The method combines cutting, folding, and sometimes layering to create forms that resist gravity without glue or support structures. Origami folds a single uncut sheet. Pop-up cards use hinges and tabs. Paper engineering sits between them: cuts allow complexity, folds create structure, precision makes it repeatable. You design the piece once; anyone can assemble it if the cuts are accurate and the instructions clear. That repeatability is what separates craft from engineering. The discipline appeared in 19th-century movable books, evolved through advertising pop-ups in the 1960s, and now includes architectural models, product prototypes, and decorative objects sold as kits. FOLDORI ships paper dioramas in this tradition: ten laser-cut layers, scored fold lines, a tension system that locks without adhesive.
How it differs from origami and pop-up cards
Origami forbids cuts and uses only folds. The constraint is the art form: one square, no scissors, no tape. Paper engineering removes that rule. Cuts let you create apertures, tabs, separate components, and interlocking joints that origami cannot achieve. The result is more structural freedom and less folding virtuosity. Pop-up cards rely on a spine and hinges. Open the card; the mechanism lifts a shape. Close it; the shape collapses flat. Paper engineering can work that way, but it does not require a book structure. A diorama stands on a surface. A lampshade wraps a bulb. An architectural model sits on a desk. The piece exists in three dimensions without needing to flatten and re-expand. The other difference: paper engineering often layers multiple sheets. Origami works with one. Pop-ups use one sheet plus glued-on elements. Layered paper engineering stacks five, ten, twenty sheets at calculated distances to create depth perspective. That approach builds scenes, not single objects.
The tools you need to start
A cutting mat, a steel ruler, and a craft knife are the minimum. The mat protects your table and self-heals after cuts. The ruler guides straight edges; aluminium bends under pressure, steel does not. The knife needs a sharp blade; dull blades tear fibers instead of slicing them. Replace the blade every few projects. A bone folder scores fold lines without cutting through the paper. Press the folder along a ruler edge; the compressed fibers create a hinge that folds cleanly. Scissors work for external cuts but not internal apertures. For those, the knife is required. A cutting machine is a faster method once you own the equipment or access a service through a maker space. The principle stays the same: the cleaner the cut, the better the fold. Glue is optional in paper engineering but common in pop-up work. FOLDORI designs avoid it through the Paper Belt mechanism, a tab-and-slot system that locks the corners of the paper case in tension. Other makers use PVA or double-sided tape. If you glue, apply it sparingly; too much warps the paper as it dries.
The paper stocks that matter
Grammage is the paper's weight per square meter, measured in gsm. Standard printer paper is 80gsm; it folds but collapses under its own weight in a standing structure. Paper engineering typically starts at 200gsm and goes up to 350gsm. Heavier stock holds a fold without reinforcement. FOLDORI uses Fedrigoni Old Mill 250gsm for most layers: the long fibers stay clean at the cut edge, and the uncoated surface takes pencil marks if you need to annotate during assembly. Coated paper looks smooth and resists moisture, but the coating can crack along fold lines under repeated stress. Uncoated paper shows texture and absorbs light instead of reflecting it. Both work; the choice depends on the piece's function. Cardstock above 300gsm requires a deeper score to fold without tearing. Some makers pre-score with a laser cutter at low power, burning a shallow groove. Others use a bone folder and pressure. Colour matters less than structural integrity, although saturated dyes can stiffen fibers and make the paper brittle. Test a fold on a scrap before committing to a full sheet.
Why precision cutting changes everything
A 0.5mm error in a tab width means the tab does not fit its slot. Stack ten layers with cumulative errors, and the final piece leans. Precision cutting removes that variability. A laser cutter holds tolerances under 0.1mm; a steady hand with a knife can achieve 0.3mm if the blade is sharp and the ruler does not shift. The difference shows in the assembly. Precise cuts let you slide a tab into a slot with light pressure. Imprecise cuts require force, which bends the paper and weakens the structure. Fold angles depend on score depth. A shallow score creates a soft fold; a deep score creates a sharp crease. The angle you need determines the depth. FOLDORI engineers score angles at 38° for the Paper Belt corner mechanism; that angle locks the fold on first assembly without glue. If you hand-score, test the depth on a scrap. Press the bone folder along the ruler. Fold the paper. If the fold is too soft, press harder on the next attempt. If the fold cracks, the score is too deep or the paper is too brittle. Precision in cutting and scoring is what makes a design repeatable. The second person who builds the piece gets the same result as the first if the files are accurate and the tools are sharp.
How to practice the basics
Start with a single-fold structure. Cut a rectangle of 250gsm uncoated paper, 20cm by 10cm. Score a line parallel to the short edge, 5cm from one end. Fold along the score. The paper should stand in an L-shape. If it collapses, the score was too shallow or the paper too light. Next, add a tab. Cut a 1cm slit perpendicular to the fold line, 2cm from the edge. Cut another slit parallel to the first, 2cm away. Fold the strip between the slits outward. You now hold a tab and a slot. The tabs should be the same width; if one is wider, the structure skews when you assemble it. That exercise is the foundation of paper engineering: score, fold, cut, test. Repeat it with different grammages and score depths. Notice what changes. A 200gsm sheet folds easier but sags. A 300gsm sheet holds better but requires more pressure. Once you can make a standing L-shape with a clean tab, try a two-layer design. Cut two identical rectangles. Score and fold both. Cut a tab on one; cut a matching slot on the other. Slide the tab into the slot. The layers should sit parallel, held in tension by the tab. If they tilt, the tab width or the slot position is off. Measure again. Adjust the next attempt. Precision is not a talent; it is a habit built through repeated measurement and correction.
Paper engineering is accessible to anyone willing to measure twice and cut once. The discipline rewards patience, sharp tools, and tested materials. Start with single folds and simple tabs; complexity comes from stacking basics, not inventing new techniques. If you want to see paper engineering at work, browse the paper craft projects FOLDORI offers or read the engineering decisions behind each material choice.
Want to try paper engineering yourself? Our Sunrise Dreams paper diorama kit is laser-cut from Italian paper and assembles without glue in under an hour (pre-order, estimated shipping April 2027). Get the Classic Set and all three story extensions in the Full Suite for €112 and save €20.